


Laser Ceramic Ring Maintenance: How to Extend Lifespan and Improve Cutting Quality
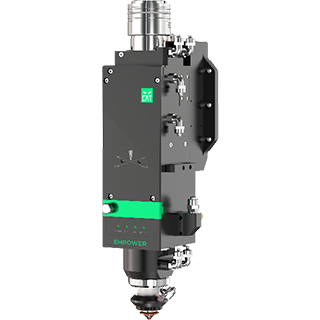
Laser ceramic rings are critical components in fiber laser cutting systems. They serve as the capacitive sensor interface between the cutting head nozzle and the workpiece, enabling precise height control during cutting operations. Proper maintenance of these ceramic rings is essential for maintaining cutting quality, preventing costly downtime, and maximizing the return on your laser equipment investment.
In this comprehensive guide, we will explore everything you need to know about laser ceramic ring maintenance, from understanding their function to implementing best practices that extend their lifespan and improve cutting performance.
1. Understanding the Role of Laser Ceramic Rings
Before diving into maintenance procedures, it is important to understand what laser ceramic rings do and why they matter.
What Is a Laser Ceramic Ring?
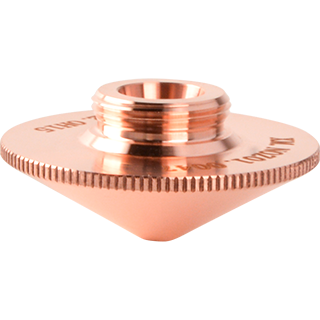
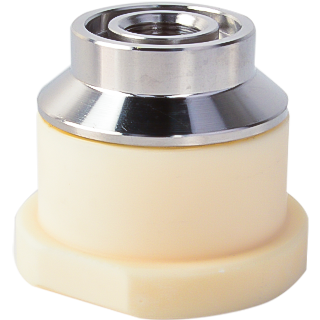
A laser ceramic ring is a precision-engineered component made from high-purity alumina ceramic (Al2O3) or zirconia ceramic (ZrO2). It is installed between the laser cutting head and the nozzle, forming part of the capacitive sensing system that controls the nozzle-to-workpiece distance.
How Ceramic Rings Work
The ceramic ring acts as a dielectric material in a capacitive sensor circuit. Here is how the system works:
- Capacitive sensing: The cutting head nozzle and the metal workpiece form a capacitor
- Ceramic as dielectric: The ceramic ring separates the nozzle from the cutting head body, allowing the nozzle to act as one plate of the capacitor
- Distance measurement: Changes in the distance between the nozzle and workpiece change the capacitance value
- Height control: The sensor electronics detect these capacitance changes and adjust the cutting head height to maintain a constant standoff distance
This precise height control is crucial for maintaining consistent cutting quality, especially when cutting uneven surfaces or when the material has slight variations in thickness.
2. Common Types of Laser Ceramic Rings
Different laser cutting heads use different ceramic ring specifications. Here are the most common types:
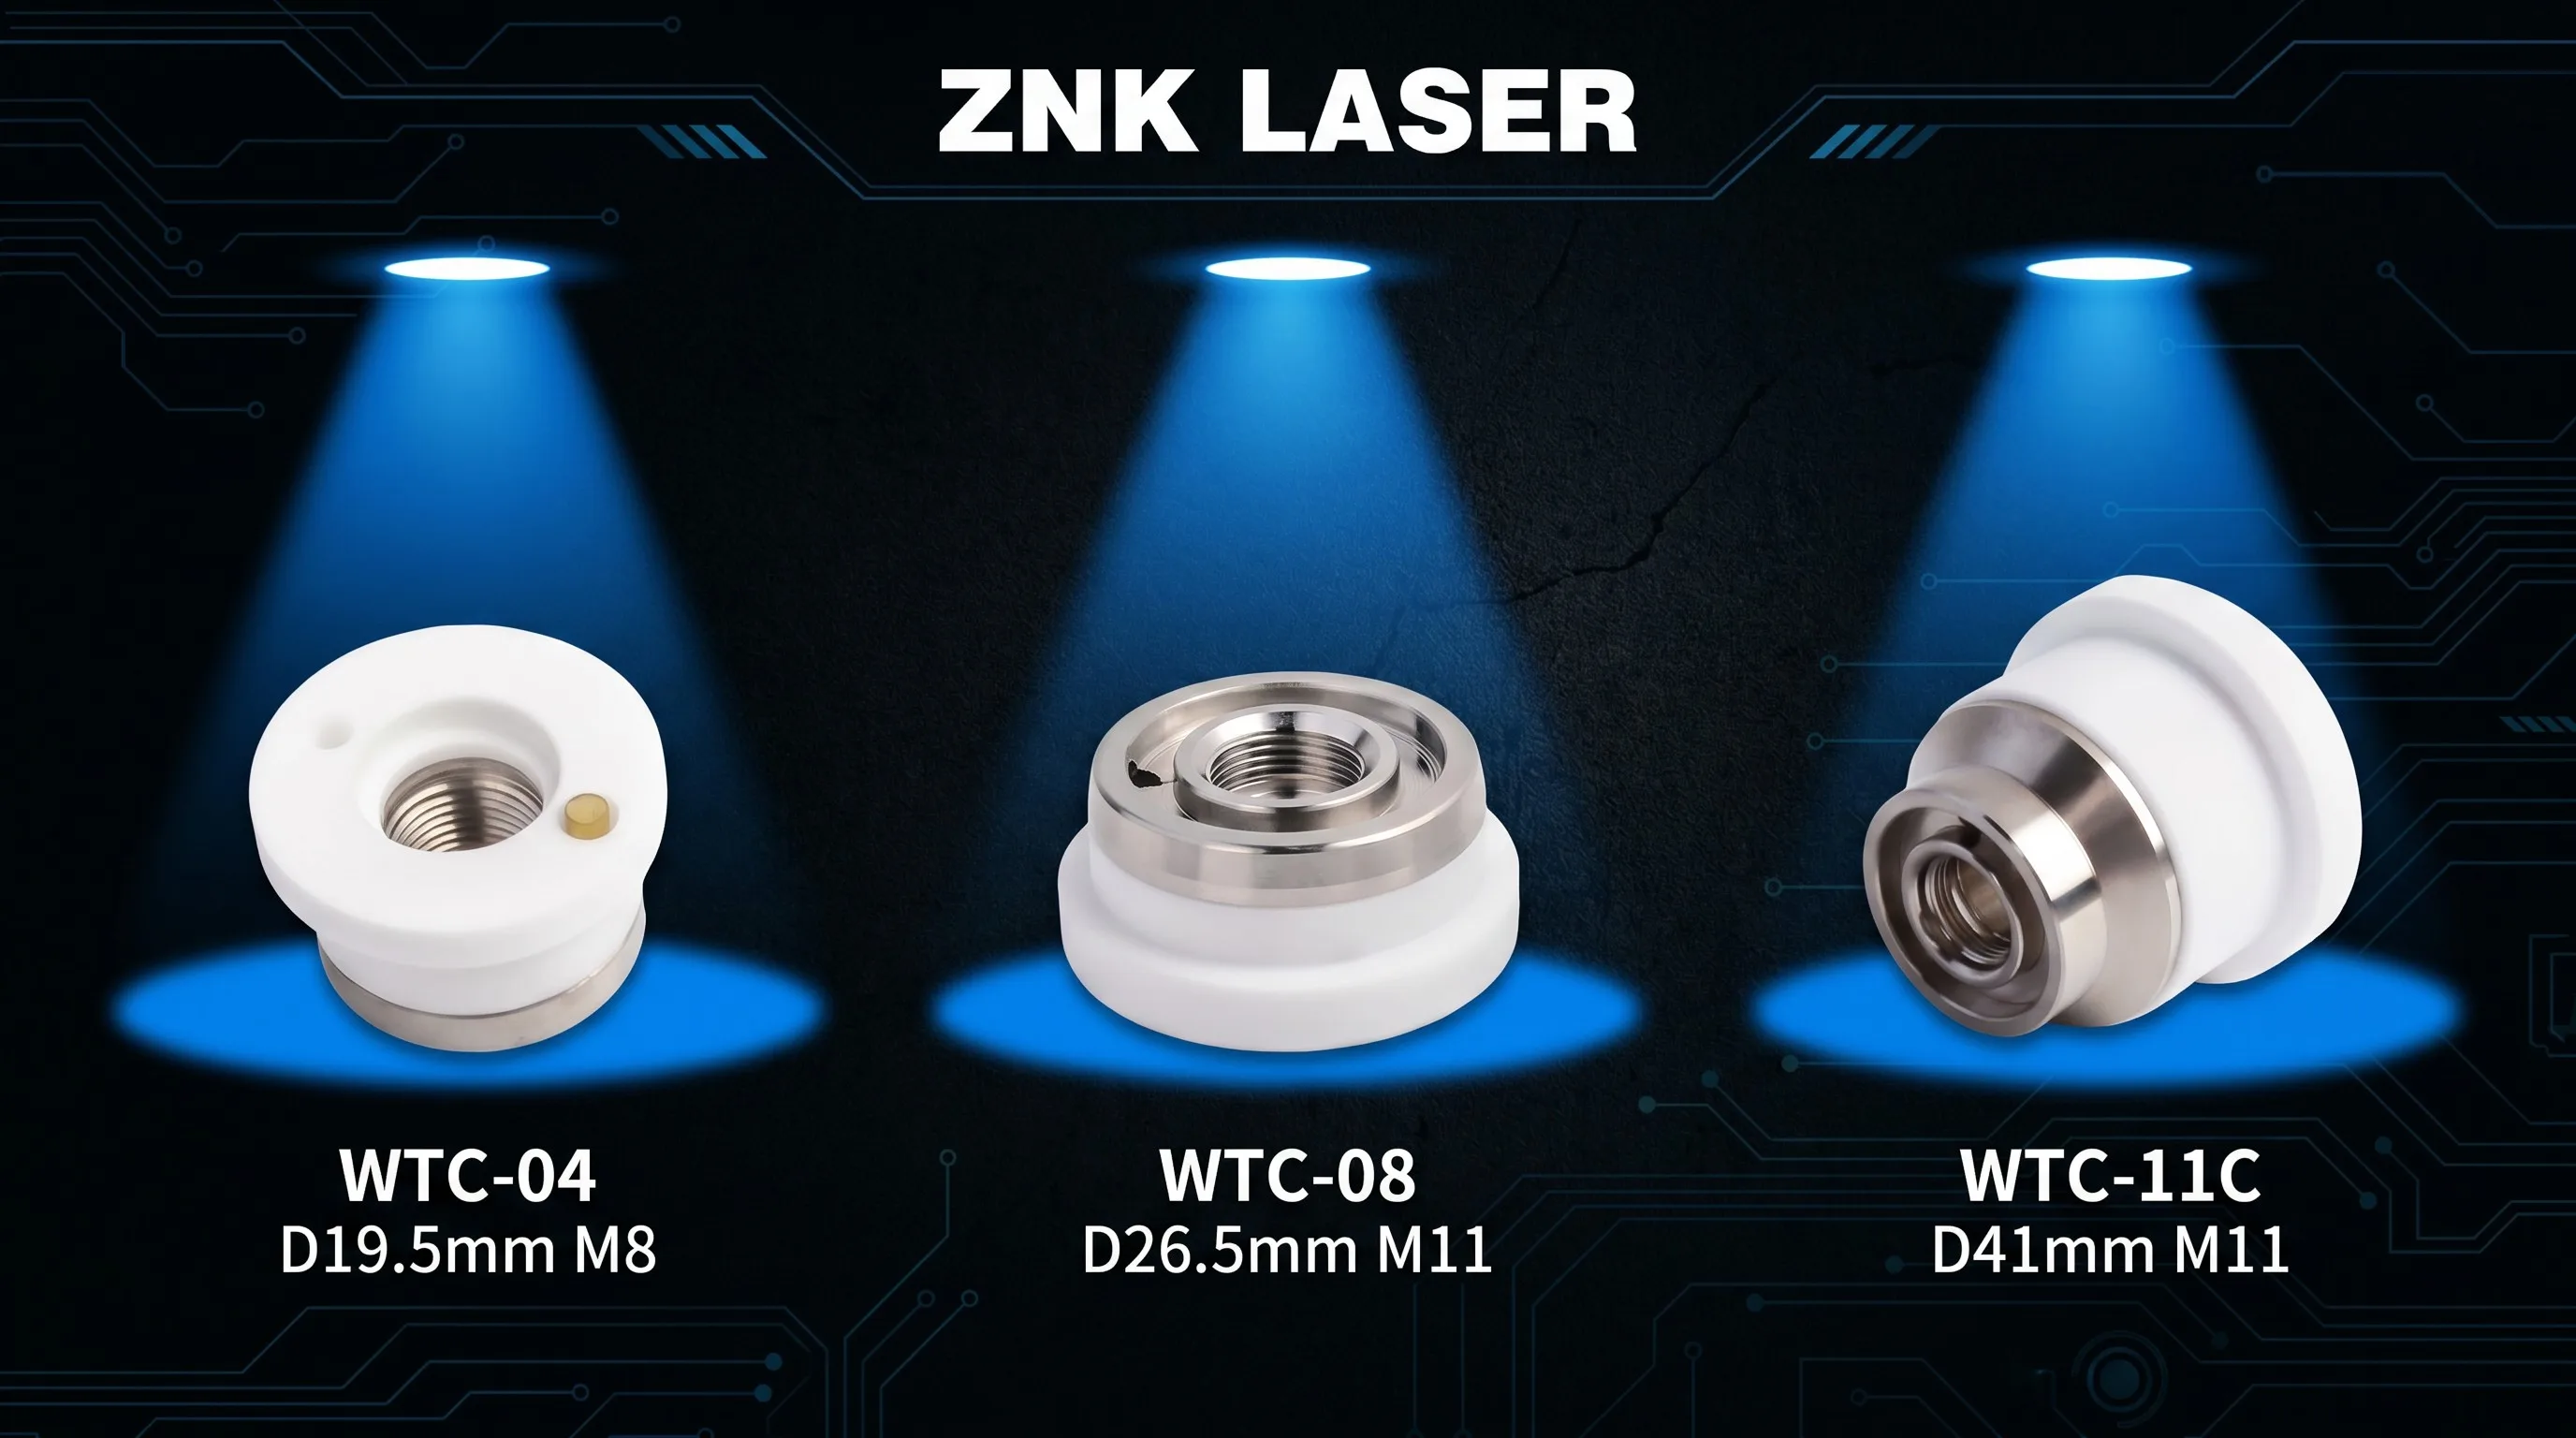
WTC-04 Series
- Diameter: 19.5mm
- Thread: M8
- Applications: Raytools BM110 series cutting heads
- Typical use: Medium power fiber laser cutting (1kW – 4kW)
WTC-08 Series
- Diameter: 26.5mm
- Thread: M11
- Applications: Raytools BM111 series cutting heads
- Typical use: High power fiber laser cutting (4kW – 12kW)
WTC-11C Series
- Diameter: 41mm
- Thread: M11
- Applications: Precitec and WSX cutting heads
- Typical use: High power industrial applications (6kW – 20kW)
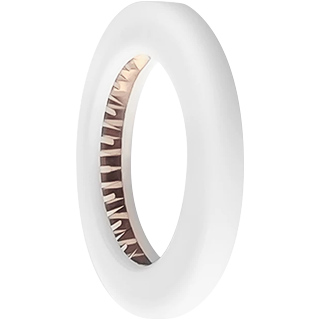
Material Variations
Ceramic rings are available in two main materials:
- Alumina (Al2O3): Standard grade, good for most applications, cost-effective
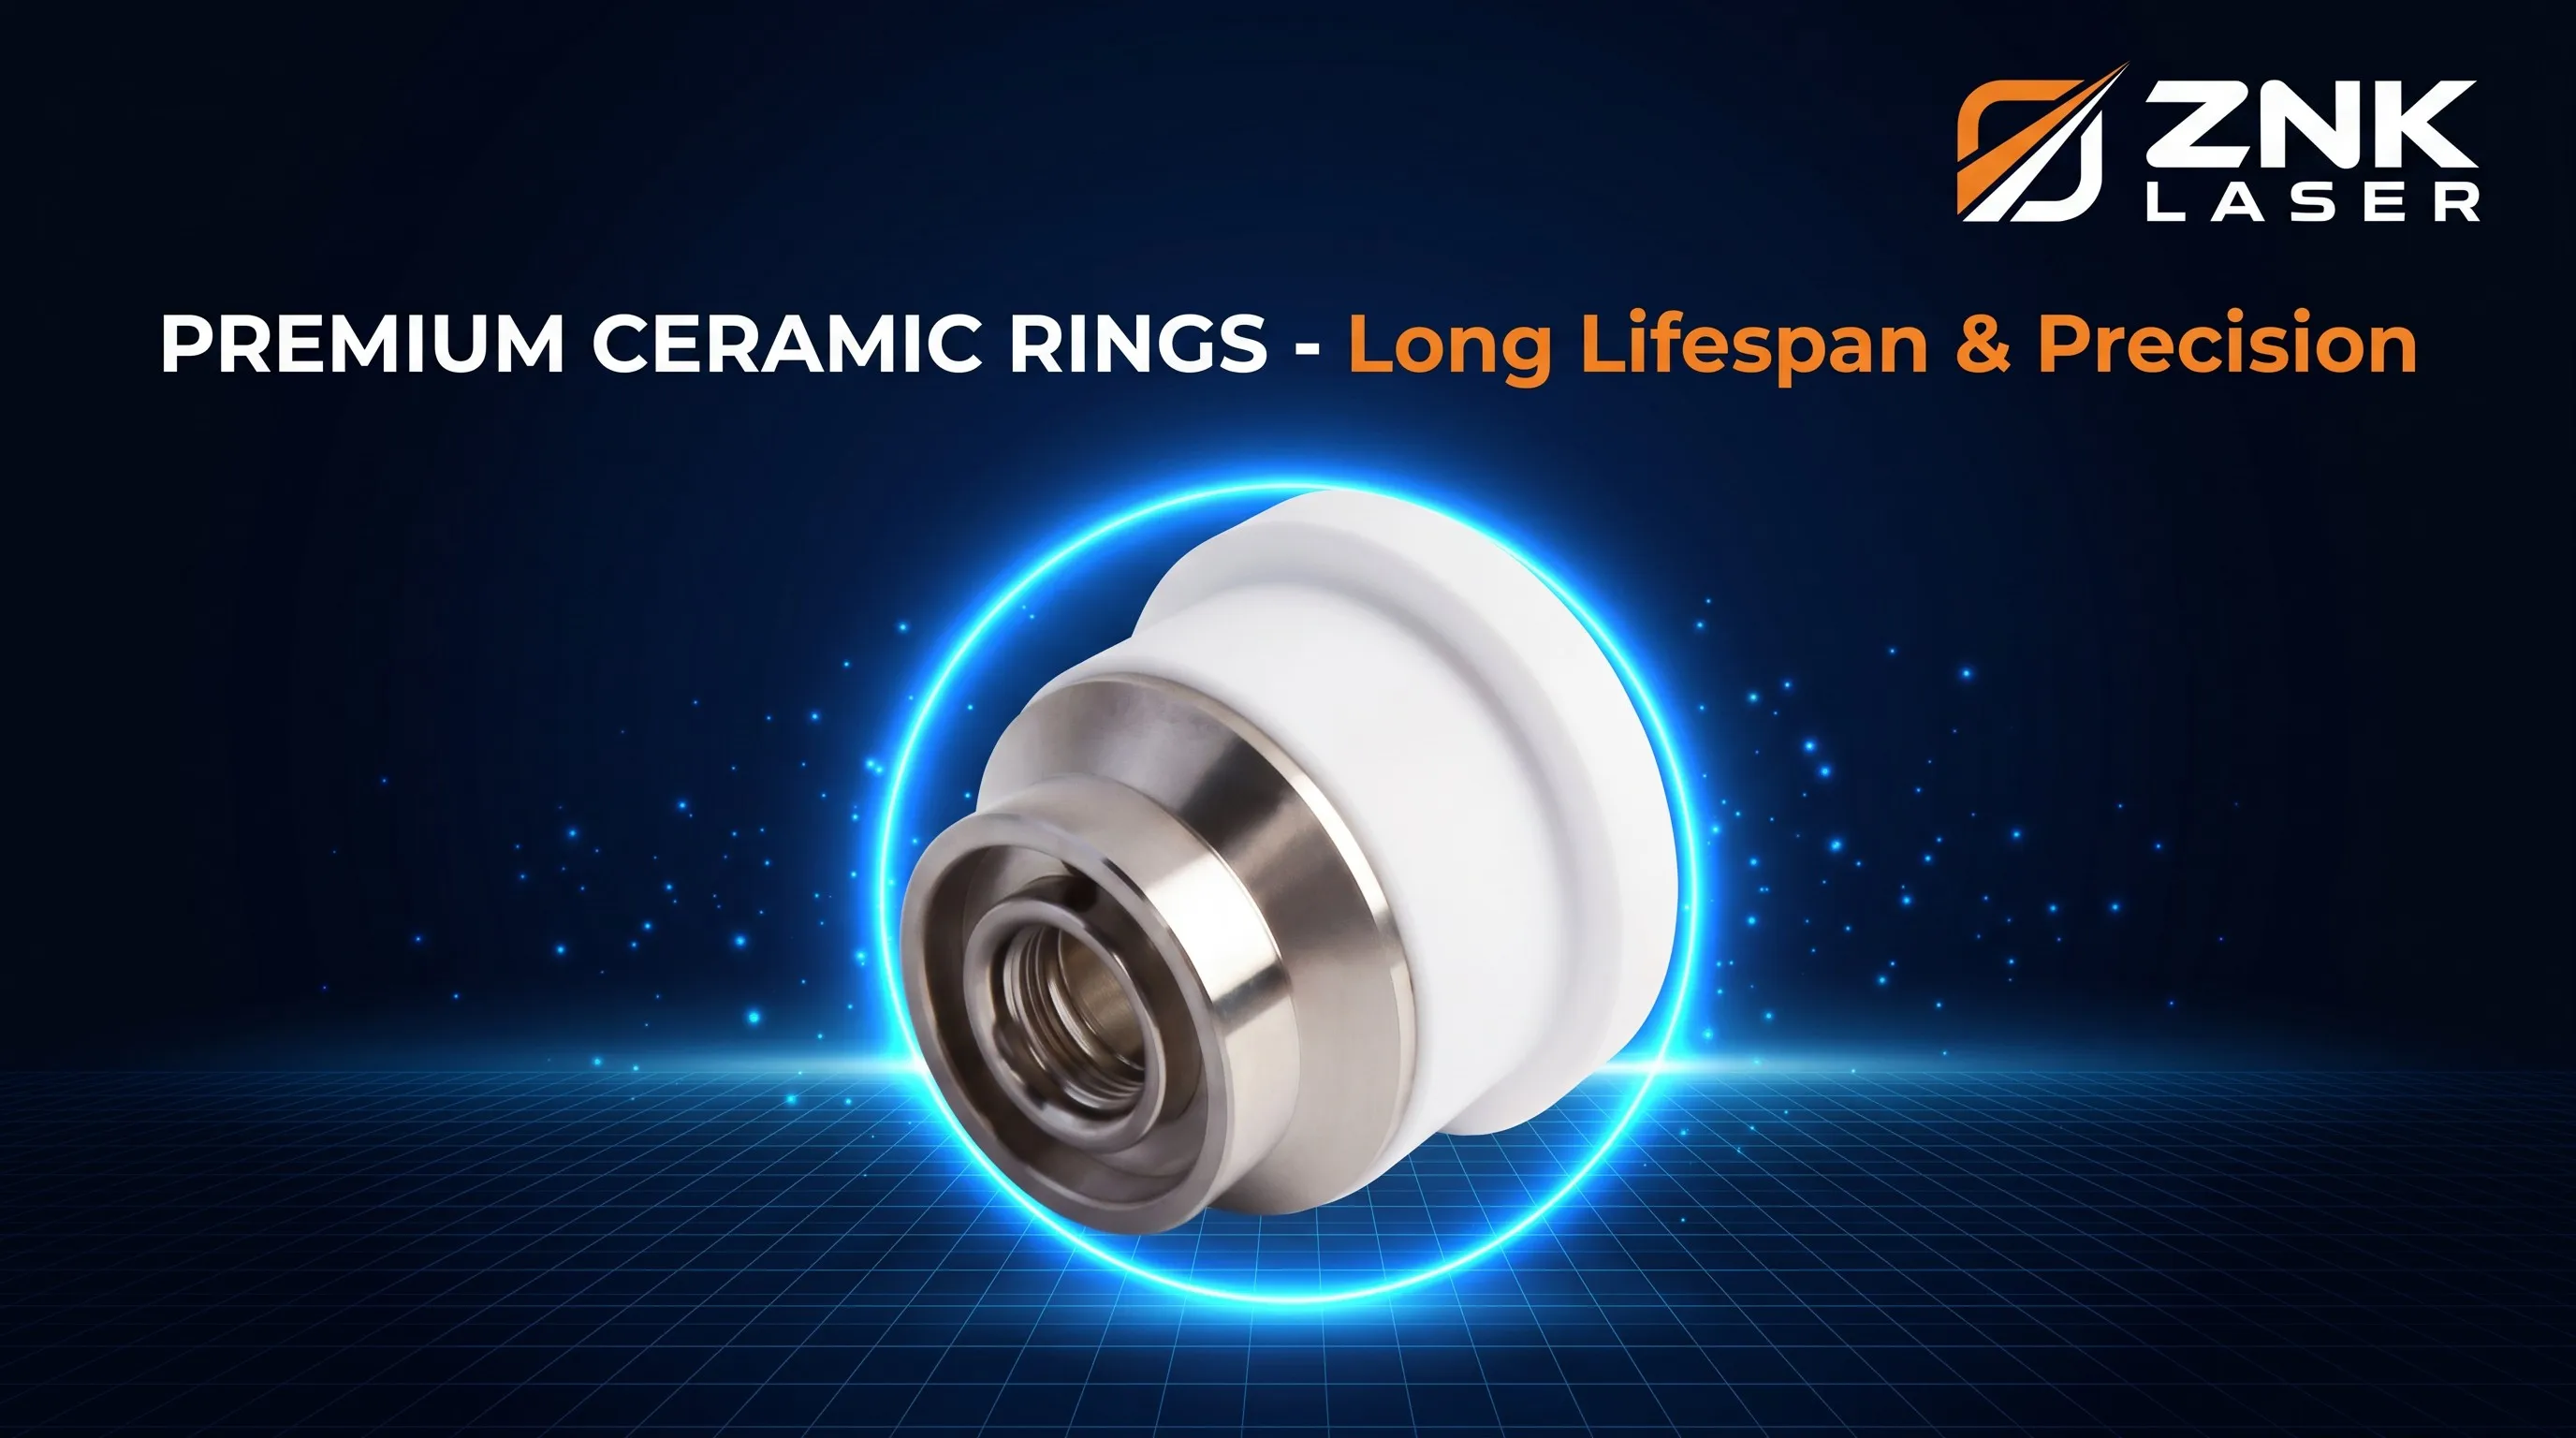
- Zirconia (ZrO2): Premium grade, higher strength and thermal shock resistance, longer lifespan
For high-power applications or demanding cutting environments, zirconia ceramic rings provide superior performance and durability.
3. Signs Your Ceramic Ring Needs Attention
Recognizing the early warning signs of ceramic ring problems can help you address issues before they cause cutting quality degradation or equipment damage.
Visual Indicators
- Cracks or chips: Visible damage to the ceramic surface
- Discoloration: Yellowing, browning, or dark spots indicating thermal damage
- Metal spatter buildup: Accumulation of molten metal on the ceramic surface
- Pitting or erosion: Small holes or worn areas on the ceramic surface
Performance Indicators
- Inconsistent height control: The cutting head struggles to maintain constant standoff distance
- Erratic capacitive sensor readings: Fluctuating or unstable sensor values
- Poor cutting quality: Inconsistent cut quality, excessive dross, or rough edges
- Frequent nozzle contact: The nozzle repeatedly touches the workpiece during cutting
Electrical Indicators
- Capacitance drift: Sensor readings gradually change over time
- Noise or interference: Erratic sensor behavior due to contamination or damage
- Calibration failures: Inability to properly calibrate the height control system
4. Daily Maintenance Procedures
Implementing daily maintenance routines is the most effective way to extend ceramic ring lifespan and maintain cutting quality.
Visual Inspection
Before each shift or at the start of each working day, perform a visual inspection:
- Check for physical damage: Look for cracks, chips, or fractures in the ceramic material
- Inspect for contamination: Look for metal spatter, dust, or other debris on the ceramic surface
- Verify alignment: Ensure the ceramic ring is properly seated and centered
- Check thread condition: Inspect the mounting threads for damage or cross-threading
Cleaning Procedures
Regular cleaning prevents contamination buildup that can interfere with capacitive sensing:
- Power down: Turn off the laser system and wait for the cutting head to cool
- Remove nozzle: Carefully remove the cutting nozzle to access the ceramic ring
- Dry cleaning: Use compressed air to blow away loose dust and debris
- Wet cleaning: For stubborn contamination, use isopropyl alcohol (IPA) and a lint-free cloth
- Dampen the cloth with IPA (do not soak the ceramic ring)
- Gently wipe the ceramic surface in a circular motion
- Avoid excessive pressure that could damage the ceramic
- Dry thoroughly: Allow the ceramic ring to air dry completely before reassembly
- Inspect again: Verify the ceramic ring is clean and undamaged before reinstalling
Important: Never use abrasive cleaners, steel wool, or harsh chemicals on ceramic rings. These can damage the ceramic surface and compromise capacitive sensing performance.
Nozzle Installation Best Practices
Proper nozzle installation protects the ceramic ring and ensures optimal performance:
- Use correct torque: Tighten the nozzle to the manufacturer specified torque value (typically 5-8 Nm)
- Avoid over-tightening: Excessive torque can crack the ceramic ring
- Use thread lubricant: Apply a small amount of high-temperature anti-seize compound to the nozzle threads
- Check alignment: Ensure the nozzle is straight and properly seated
5. Weekly Maintenance Tasks
In addition to daily maintenance, perform these tasks weekly:
Detailed Inspection
- Remove the ceramic ring: Carefully unscrew the ceramic ring from the cutting head
- Inspect both sides: Check the top and bottom surfaces for damage or wear
- Measure dimensions: Verify the ceramic ring has not deformed or worn significantly
- Check mounting surface: Inspect the cutting head mounting surface for damage or contamination
Deep Cleaning
- Ultrasonic cleaning: For heavily contaminated ceramic rings, use an ultrasonic cleaner with IPA
- Place the ceramic ring in the ultrasonic cleaner basket
- Fill with IPA to cover the ceramic ring
- Run the cleaner for 5-10 minutes
- Remove and air dry completely
- Inspect after cleaning: Check for any remaining contamination or damage
Calibration Verification
- Perform sensor calibration: Follow the manufacturer calibration procedure for your cutting head
- Test height control: Verify the height control system responds correctly to distance changes
- Check for drift: Monitor sensor readings over time to detect any drift or instability
6. Preventing Common Ceramic Ring Problems
Prevention is always better than cure. Here are strategies to prevent common ceramic ring issues:
Preventing Thermal Damage
Excessive heat is the primary cause of ceramic ring failure:
- Maintain proper cooling: Ensure the cutting head cooling system is functioning correctly
- Avoid excessive power: Do not exceed the rated power capacity of your ceramic ring
- Monitor cutting parameters: Use appropriate cutting speeds and gas pressures to minimize heat buildup
- Allow cooling time: During high-duty-cycle operations, allow periodic cool-down intervals
Preventing Mechanical Damage
Physical damage can compromise ceramic ring integrity:
- Handle with care: Ceramic rings are brittle and can chip or crack if dropped
- Use proper tools: Use the correct wrench size and avoid excessive force during installation
- Protect during storage: Store spare ceramic rings in protective cases to prevent damage
- Avoid impacts: Prevent the cutting head from colliding with the workpiece or fixtures
Preventing Contamination
Contamination interferes with capacitive sensing:
- Maintain clean environment: Keep the cutting area clean and free of excessive dust
- Use proper gas filtration: Ensure assist gas is clean and dry
- Regular cleaning: Follow the daily and weekly cleaning procedures described above
- Protective covers: Use protective caps when the cutting head is not in use
7. When to Replace Your Ceramic Ring
Even with excellent maintenance, ceramic rings eventually need replacement. Here is how to determine when:
Visual Damage Criteria
Replace the ceramic ring immediately if you observe:
- Cracks or fractures in the ceramic material
- Chips larger than 1mm on the ceramic surface
- Significant discoloration or burning
- Pitting or erosion that affects the surface finish
Performance Degradation Criteria
Replace the ceramic ring if you experience:
- Consistent height control problems despite proper calibration
- Erratic sensor readings that cannot be resolved through cleaning
- Repeated nozzle contact with the workpiece
- Declining cutting quality that cannot be corrected through parameter adjustment
Preventive Replacement Schedule
Even without obvious problems, consider preventive replacement based on usage:
- High-volume production: Replace every 6-12 months
- Moderate use: Replace every 12-18 months
- Light use: Replace every 18-24 months
These intervals are guidelines only. Actual lifespan depends on cutting parameters, material types, environmental conditions, and maintenance quality.
8. Ceramic Ring Installation Guide
Proper installation is critical for ceramic ring performance and lifespan.
Preparation
- Power down: Turn off the laser system and wait for the cutting head to cool completely
- Clean the mounting surface: Remove any debris, old thread compound, or contamination from the cutting head mounting surface
- Inspect the new ceramic ring: Verify it is the correct type and free of damage
- Gather tools: Prepare the correct wrench, thread compound, and cleaning supplies
Installation Steps
- Apply thread compound: Apply a thin layer of high-temperature anti-seize compound to the ceramic ring threads
- Hand-tighten: Screw the ceramic ring into the cutting head by hand until it is finger-tight
- Final tightening: Use a torque wrench to tighten to the manufacturer specified torque (typically 8-12 Nm for ceramic rings)
- Install nozzle: Install the cutting nozzle following the procedures described in Section 4
- Calibrate: Perform sensor calibration according to the cutting head manufacturer instructions
Post-Installation Verification
- Visual inspection: Verify the ceramic ring is properly seated and aligned
- Sensor test: Test the capacitive sensor by moving the cutting head up and down
- Height control test: Run a test cut to verify height control is functioning correctly
- Monitor initial operation: Watch for any unusual behavior during the first few cuts
9. Troubleshooting Common Issues
Here are solutions to common ceramic ring problems:
Problem: Inconsistent Height Control
Possible causes:
- Contamination on the ceramic ring surface
- Loose ceramic ring or nozzle
- Electrical interference or noise
Solutions:
- Clean the ceramic ring thoroughly using the procedures in Section 4
- Verify the ceramic ring and nozzle are properly tightened
- Check for sources of electrical interference (welding equipment, VFDs, etc.)
- Perform sensor calibration
Problem: Sensor Drift
Possible causes:
- Thermal expansion due to excessive heat
- Gradual contamination buildup
- Aging ceramic material
Solutions:
- Improve cooling and reduce heat input to the cutting head
- Increase cleaning frequency
- Replace the ceramic ring if it is nearing the end of its service life
Problem: Frequent Nozzle Contact
Possible causes:
- Incorrect sensor calibration
- Damaged ceramic ring affecting sensor accuracy
- Uneven workpiece surface
Solutions:
- Recalibrate the sensor following manufacturer procedures
- Inspect and replace the ceramic ring if damaged
- Adjust cutting parameters or use pierce height compensation for uneven surfaces
Problem: Cracked Ceramic Ring
Possible causes:
- Over-tightening during installation
- Thermal shock from rapid temperature changes
- Mechanical impact or collision
Solutions:
- Use a torque wrench and follow manufacturer torque specifications
- Allow gradual cool-down after high-duty-cycle operations
- Inspect the cutting area for potential collision hazards
- Replace the ceramic ring immediately
10. Best Practices Summary
To maximize ceramic ring lifespan and cutting performance, follow these best practices:
Daily
- Perform visual inspection before each shift
- Clean the ceramic ring if contamination is visible
- Verify height control is functioning correctly
Weekly
- Remove and thoroughly clean the ceramic ring
- Inspect for damage or wear
- Perform sensor calibration verification
Monthly
- Review cutting parameters to ensure they are optimized
- Check cooling system performance
- Evaluate ceramic ring condition and plan replacement if needed
Annually
- Consider preventive replacement even if no problems are apparent
- Review maintenance procedures and train operators on best practices
- Evaluate whether upgrading to premium ceramic rings (zirconia) would provide benefits
Conclusion
Laser ceramic rings are precision components that play a vital role in fiber laser cutting performance. By implementing the maintenance procedures described in this guide, you can significantly extend ceramic ring lifespan, improve cutting quality, and reduce unplanned downtime.
Remember that prevention is always more cost-effective than repair. Regular inspection, proper cleaning, and timely replacement will ensure your laser cutting system operates at peak performance and delivers the best return on your investment.
For more information on laser cutting consumables and accessories, including high-quality ceramic rings for all major cutting head brands, explore our complete product catalog or contact our technical support team for personalized recommendations.